Integrating the Payment Portal for a Specific Exam
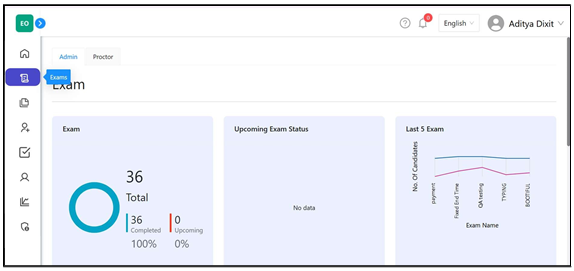
Step 01: In the Central Admin Portal, click on the Exams section to begin the setup process.
Step 02: Locate the Action button (three dots) on the right side of the exam for which you want to integrate the payment gateway.
Step 02: Locate the Action button (three dots) on the right side of the exam for which you want to integrate the payment gateway.
Step 03: Click on the Action button (three dots) and then select AddOns from the dropdown menu.

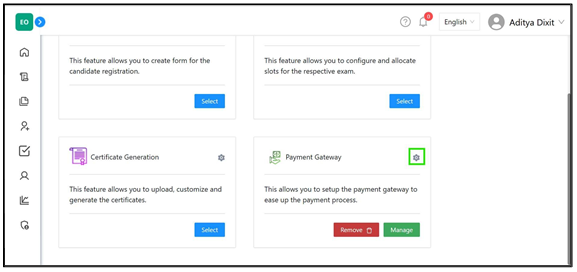
Step 04: In the window that appears, locate the Payment Gateway box and click on the Select button below it to proceed with the integration settings.
Step 05: Click on the Settings icon on the Payment Gateway ribbon, to select the payment flow—whether payment should be made before or after slot booking.
Step 06: Select the desired payment flow and click Save & Exit.
After slot selection: The user pays after selecting their exam slot.
Before slot selection: The user pays before selecting their exam slot.
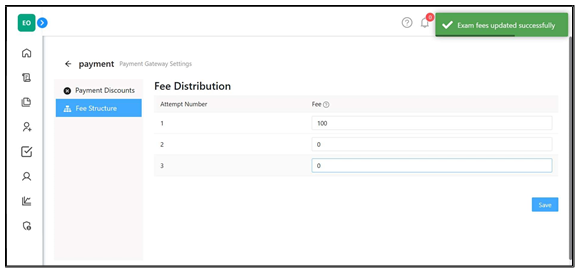
Step 07: Next, click the Manage button on the Payment Gateway ribbon to enter the exam fee structure.
Step 08:
The Payment
Gateway
window will open.
Enter the
payment
amount for each attempt and click Save. (If the exam allows multiple attempts but requires
payment
only once, enter
0 for the fees of the additional attempts.)
Step 09: This completes the setup. You will see a popup confirming that the exam fees have been updated successfully.
Related Articles
Adding Payment Vouchers / Coupons for a specific exam
Step 01: After navigating to the Payment Discounts tab from the Payments ribbon, click on the Payment Discounts tab to proceed. Step 02: Locate and click on the Add Payment Discount button to begin creating a new voucher or coupon for the exam. Step ...Adding Payment Vouchers / Coupons from Global Payment Integration Portal
To create coupons/ Vouchers that can be associated to one or multiple exams already created Step 01: After navigating to the Payment Discounts tab from the Payments ribbon, click on the Payment Discounts tab. Step 02: Locate the Add Payment Discount ...Proctor Pre-Allocation Guide
Proctor pre-allocation allows administrators to assign specific proctors to candidates before the exam. This ensures smoother exam execution and enables controlled allocation based on defined criteria such as candidate gender or custom grouping ...How to Publish the Exam
Note: After the candidates are associated to the exam, we can proceed to publish the exam. The Review Page will open, giving you an opportunity to verify the specified exam details before publishing it. After checking all the necessary steps, you ...Configuring the Global Payment Settings
Step 01: In the Central Admin Portal, navigate to the Settings section and click on it. Step 02: Click on the Payments tab to access the Payment Integration Portal. Step 03: Click on the Payment Integration button and select the currency type in ...